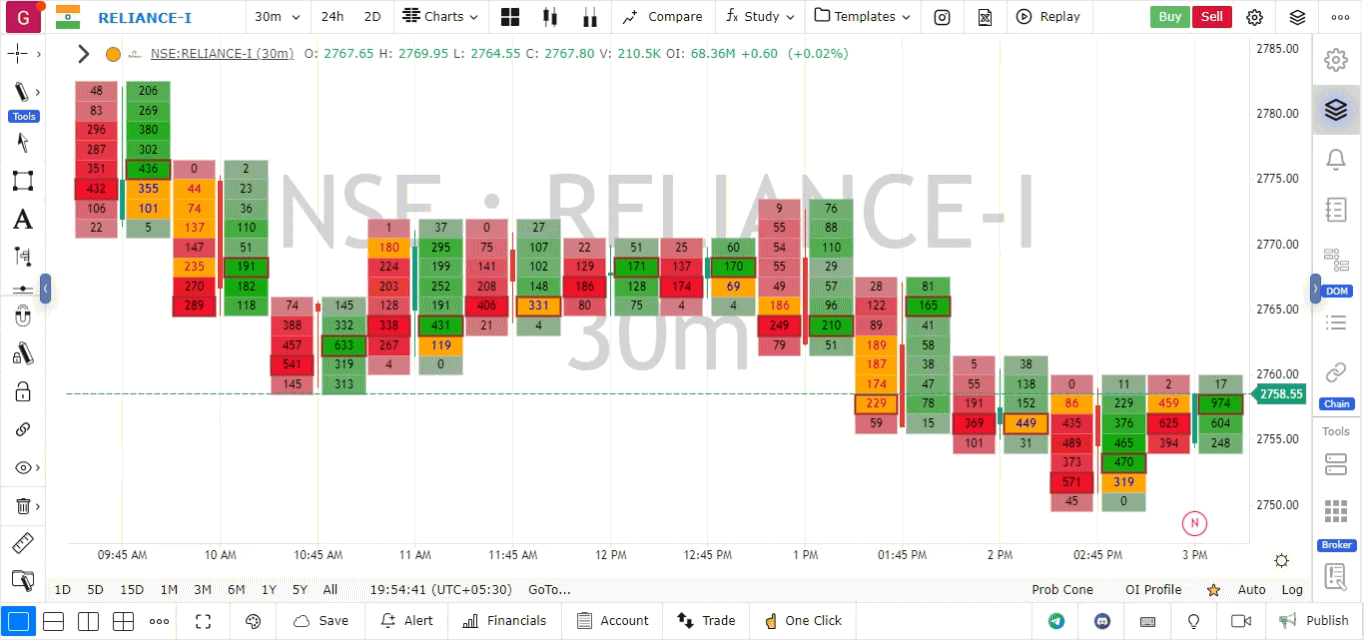
Custom Time Frame
The platform allows traders to create custom time frames for their charts, such as 75 minutes, 125 minutes, or any other time interval that suits their trading strategy. This feature is particularly useful for traders who prefer non-standard time frames.
To create and save a custom time frame, follow these steps:
- Click on the Time Interval option located on the top bar of the platform.
- In the dropdown menu, select Custom.
- You will be prompted to choose a unit (e.g., minutes, hours) and a scale (e.g., 75, 125).
- Once you’ve entered your desired time frame, click on the Set button to apply it to the chart.
Save Custom Time Frame for Future Use:
- If you want to save this custom time frame for future use, click on the Heart icon next to the time frame.
- This will add the custom time frame to your chart’s time interval options, making it easily accessible for later use.
By creating and saving custom time frames, you can analyze the market based on your unique preferences and trading requirements.
Use Case
GoCharting’s Custom Timeframe feature allows traders to create non-standard bar aggregations (e.g., 7-minute, 17-minute, 3-hour) that are not available in the default timeframe selector. Custom timeframes reduce the crowd effect that exists at standard intervals.
Strategy
Create custom timeframes that align with your specific instrument’s natural rhythm. For example, a 7-minute chart on equities avoids the noise at the 5-minute and 10-minute crowded levels. For futures, a 233-tick or 377-tick chart aligns with Fibonacci-based tick groupings used by some institutional traders.
Common Mistakes
Do not use obscure custom timeframes without understanding why they might provide an edge. Avoid creating so many custom timeframes that you lose consistency in your analysis process. Do not forget that custom timeframes may have less historical data available than standard intervals depending on your data provider.